Getting the Best From Your Espresso
by Mark Hayward | January 23, 2026
A 2021 survey by the World Coffee Portal found that 96% of coffee drinkers say that coffee quality was the most important factor behind choosing which coffee shop they frequent. Don’t panic. We’re here to show you how to make the perfect espresso!
The standard of espresso being served up in coffee shops is rapidly improving. It’s vital that you and your baristas understand how to get consistently excellent espresso from your machines to remain competitive.
We are going to walk you through how to brew a high-quality espresso, as well as how to ensure that your espresso stays consistent even if there are different baristas operating your machines.
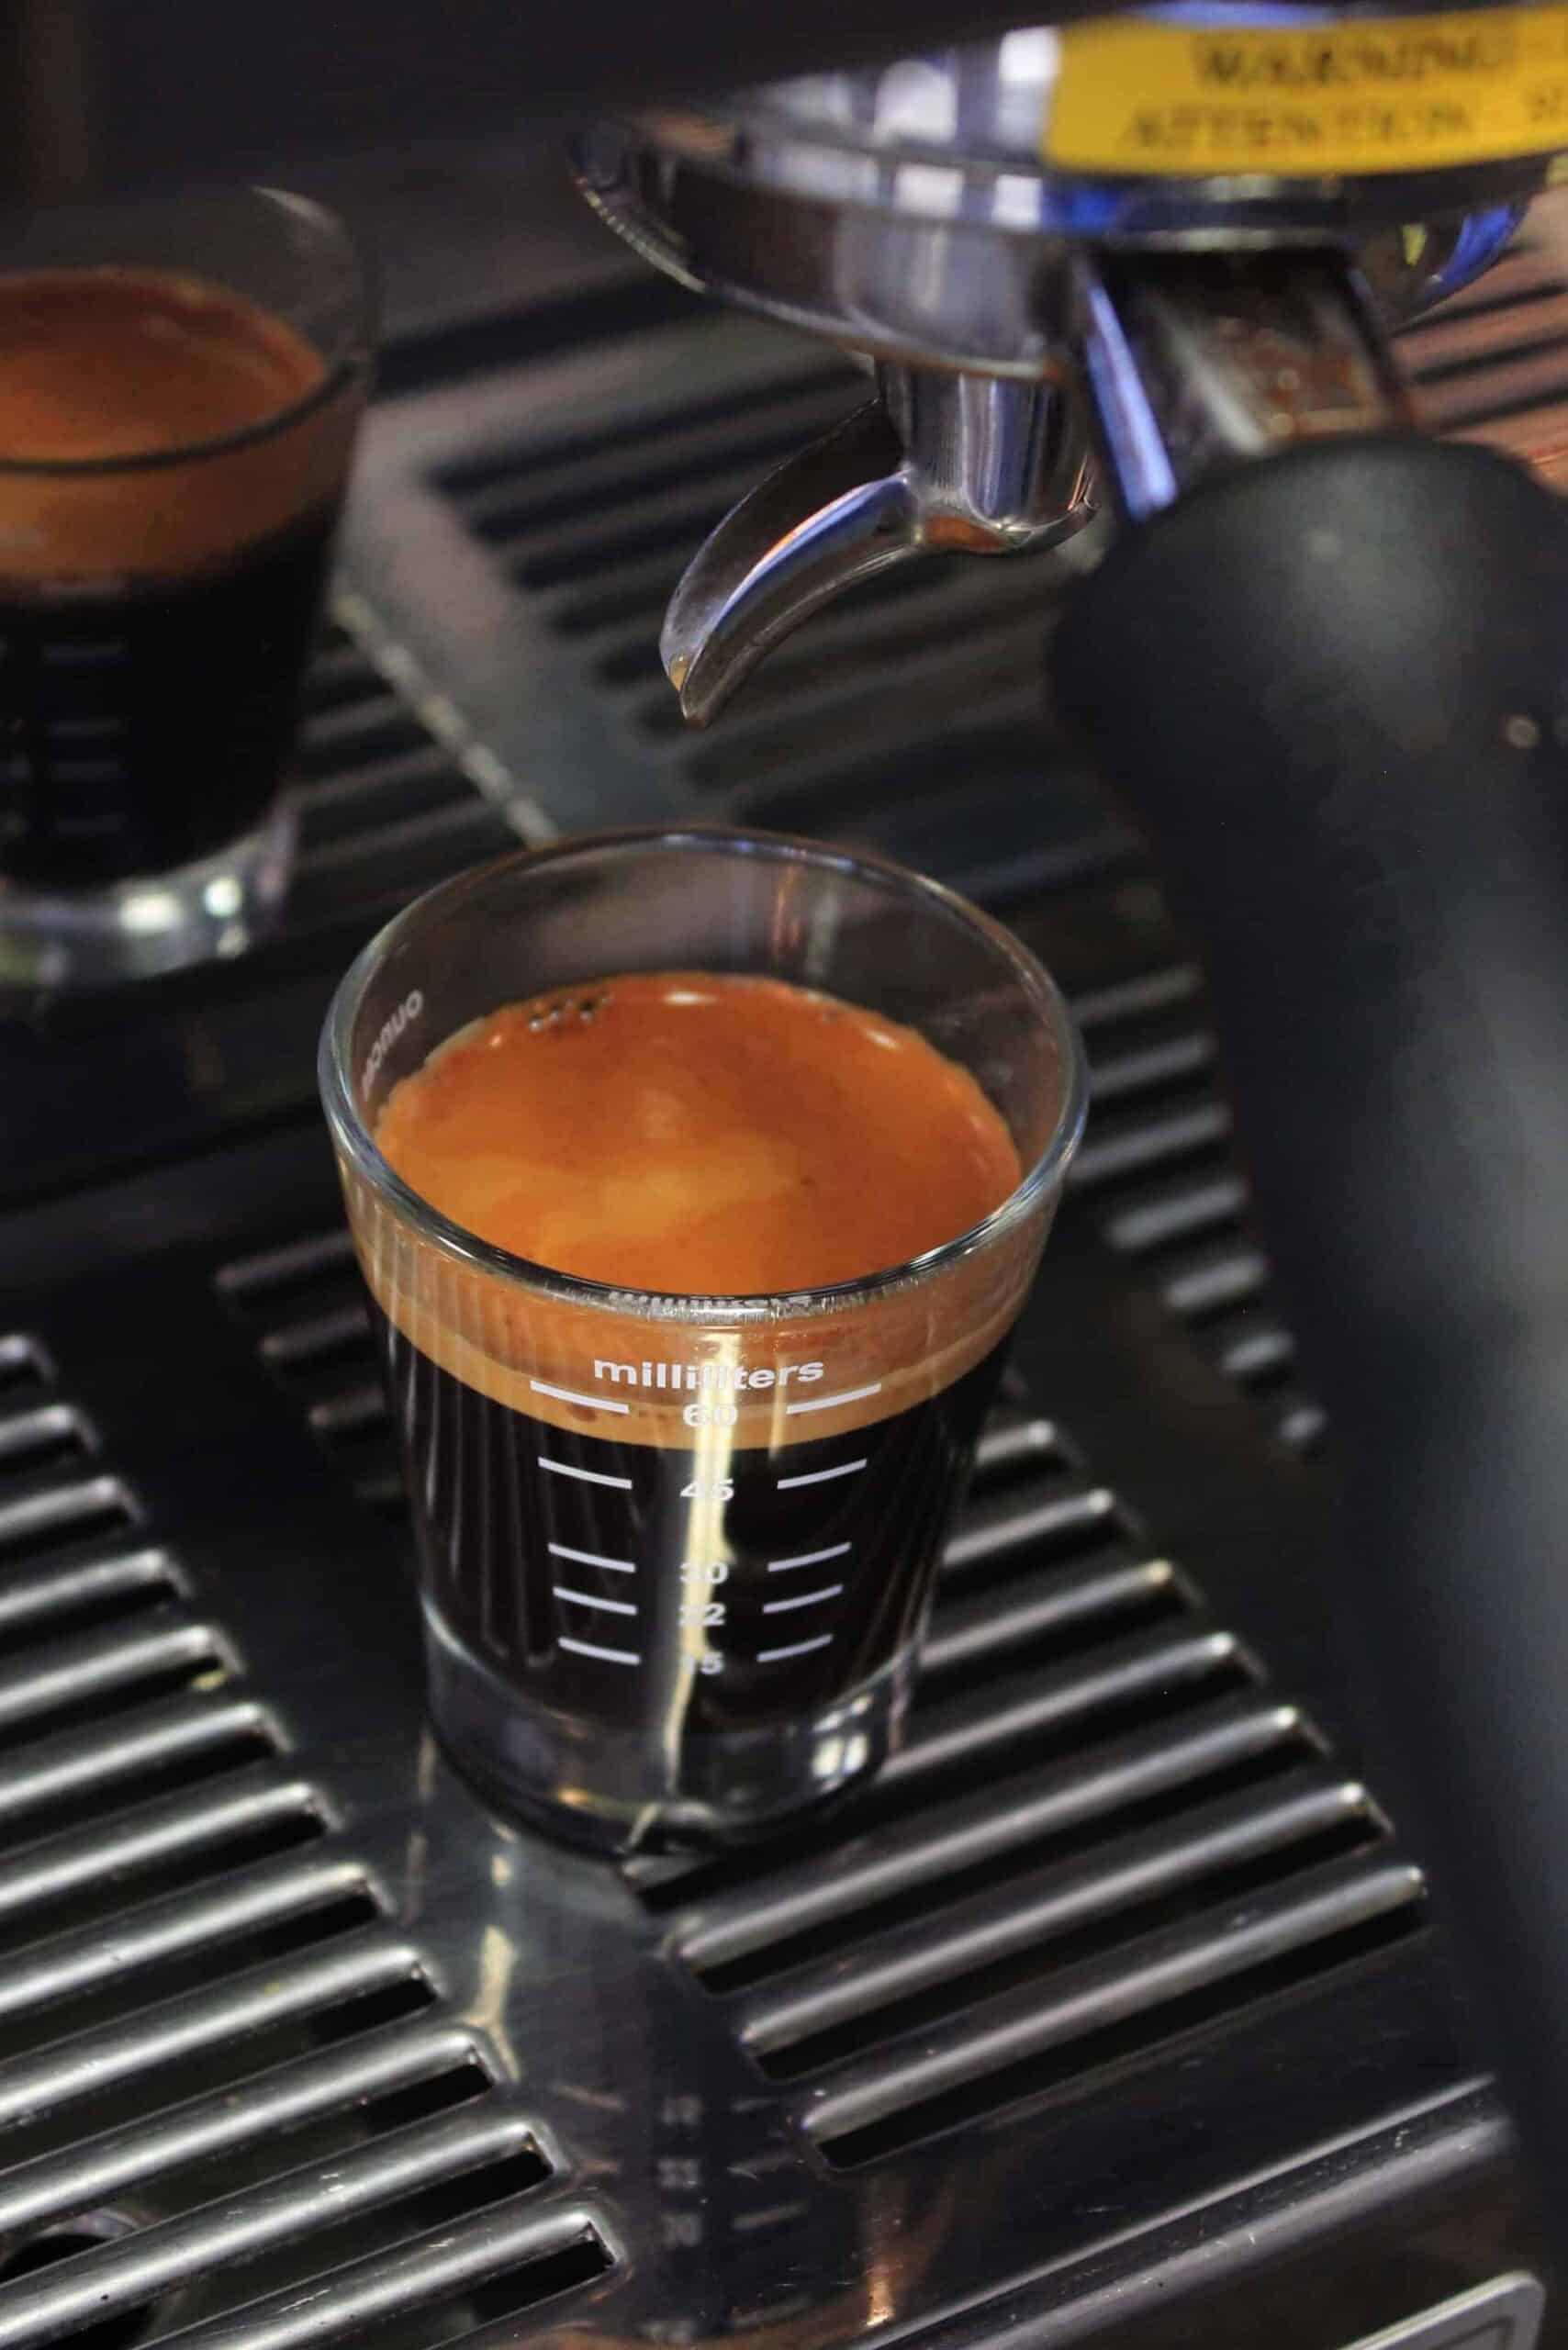
The Basic Principles of Espresso
Espresso follows a few basic guidelines regarding its dose, ratio, brewing time, brewing temperature and pressure.
Although these guidelines are exactly that – guidelines and not rules – they have been developed gradually over decades of trial and error and are therefore worth following as a default to tweak around.
Assuming that there are no mechanical faults with your grinder, machine, or that the coffee that you are using is fresh, adhering to the following guidelines should see you make consistently good espresso and offer you a good starting point to make tiny optimizations around.
Dose
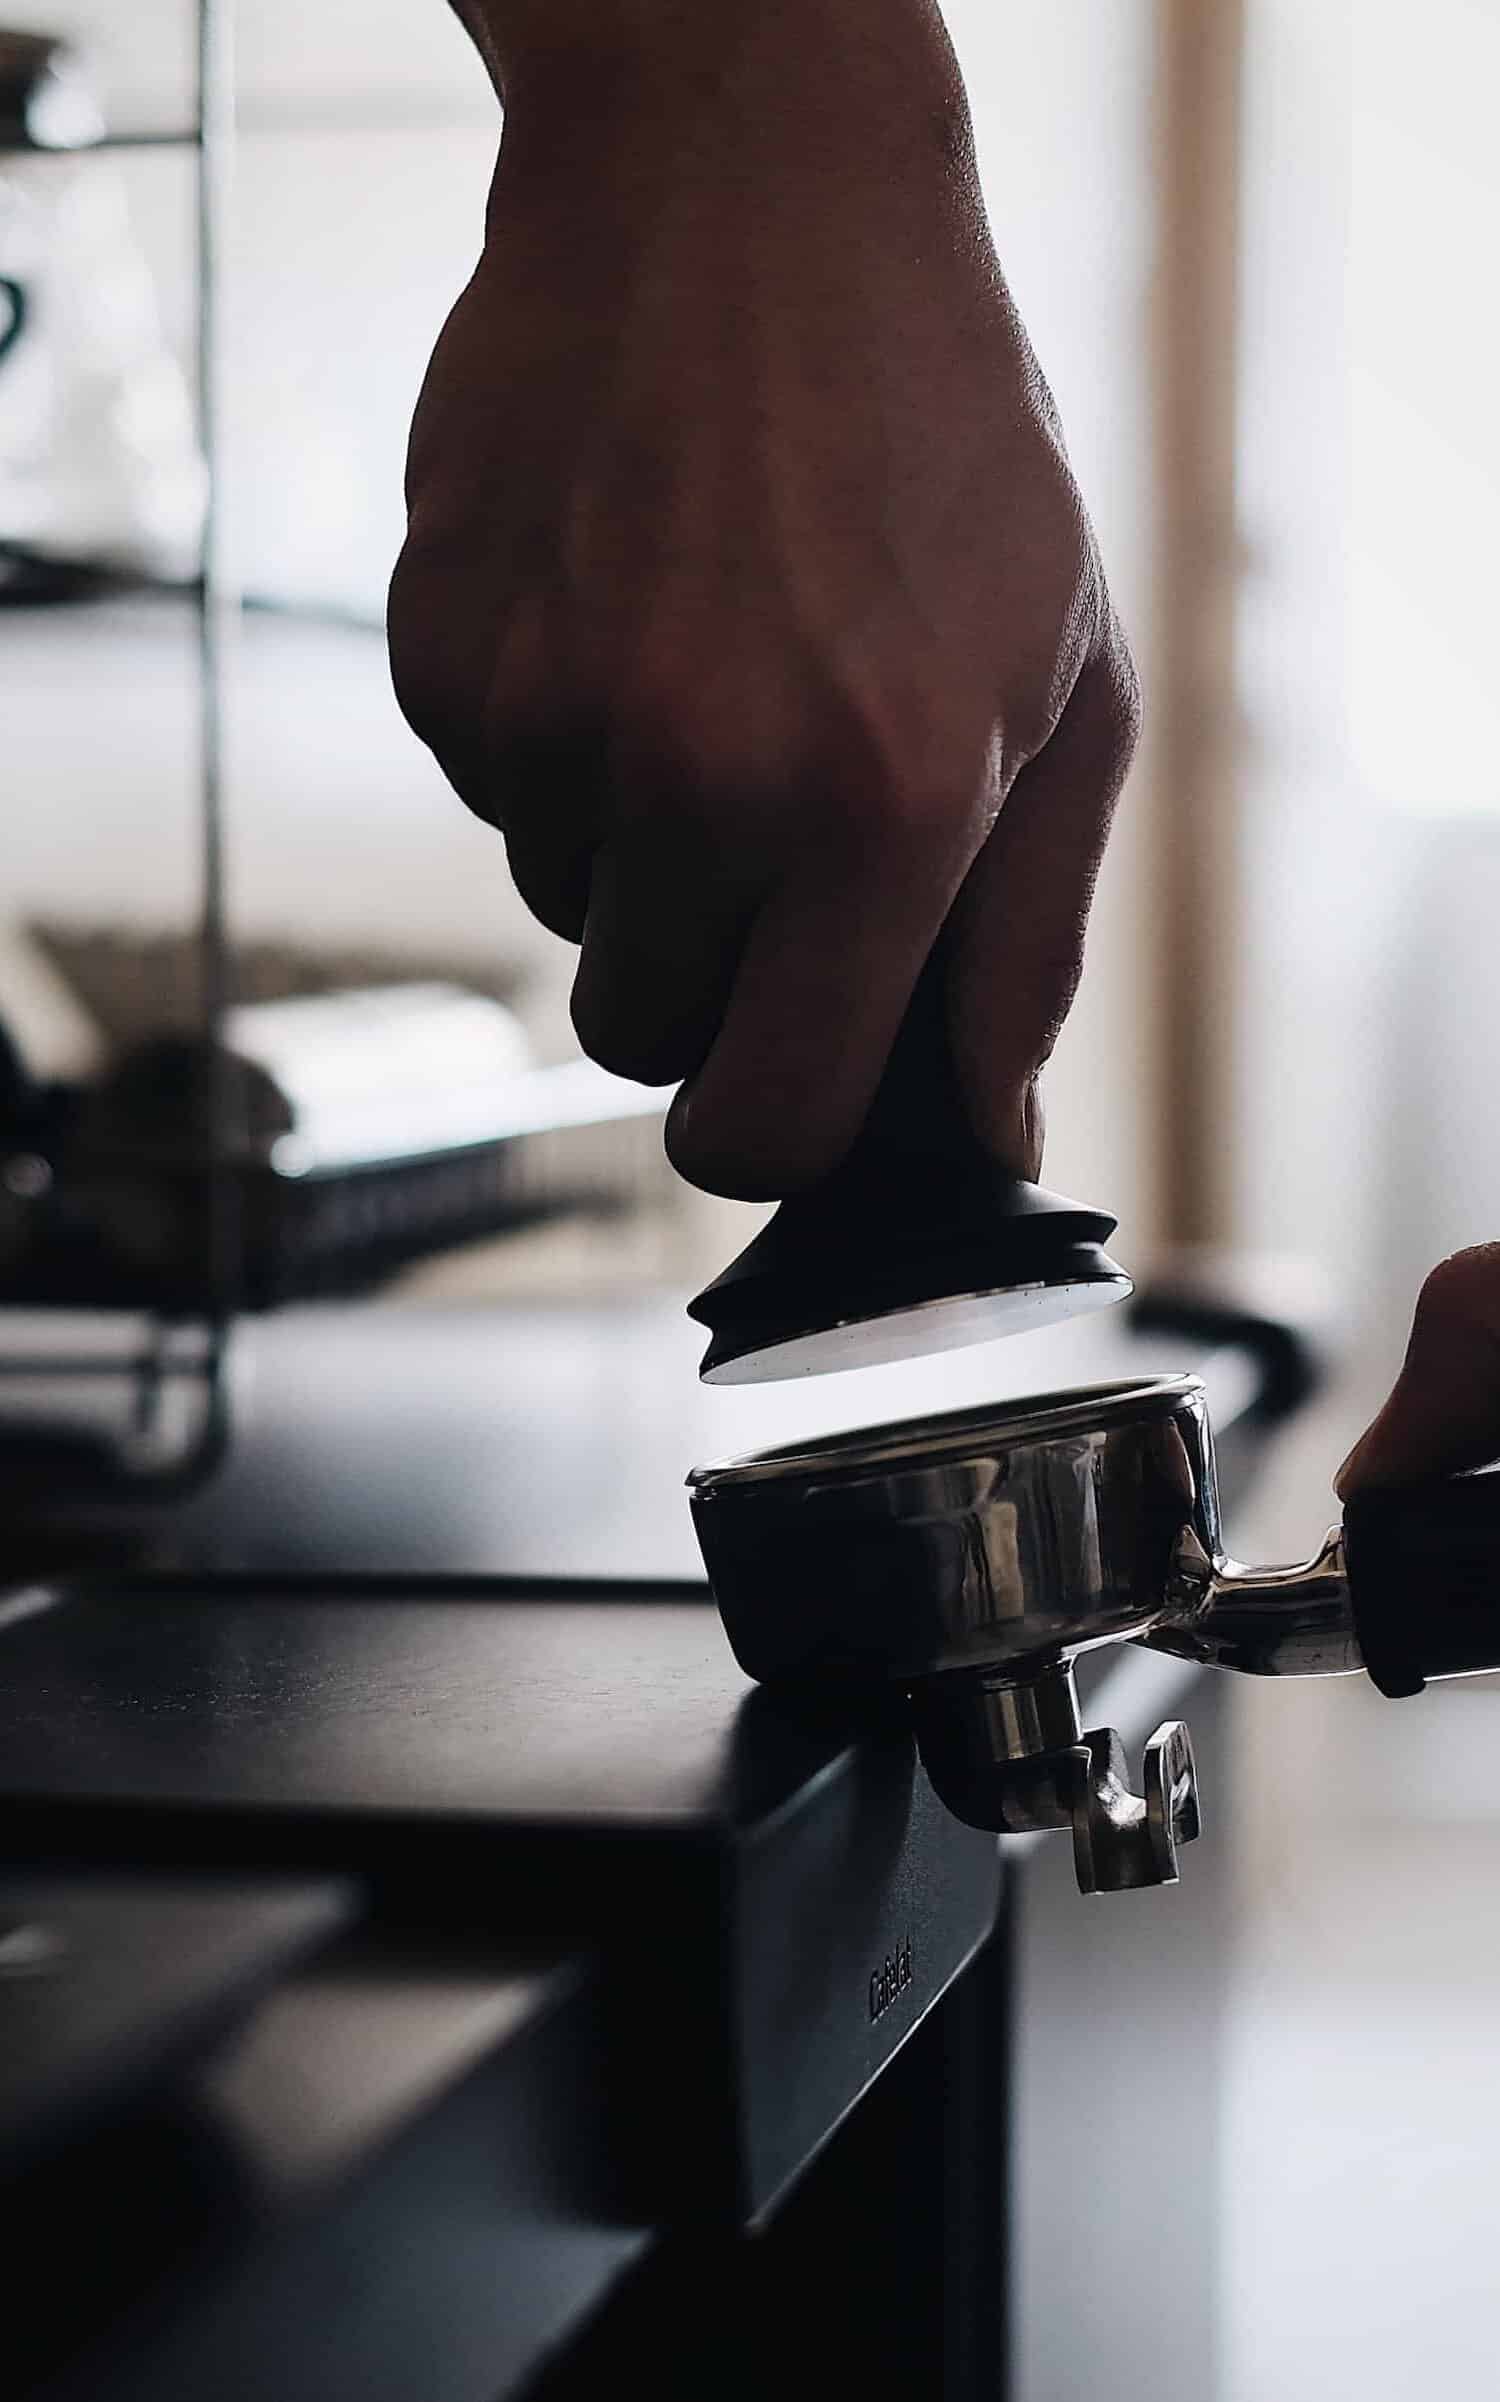
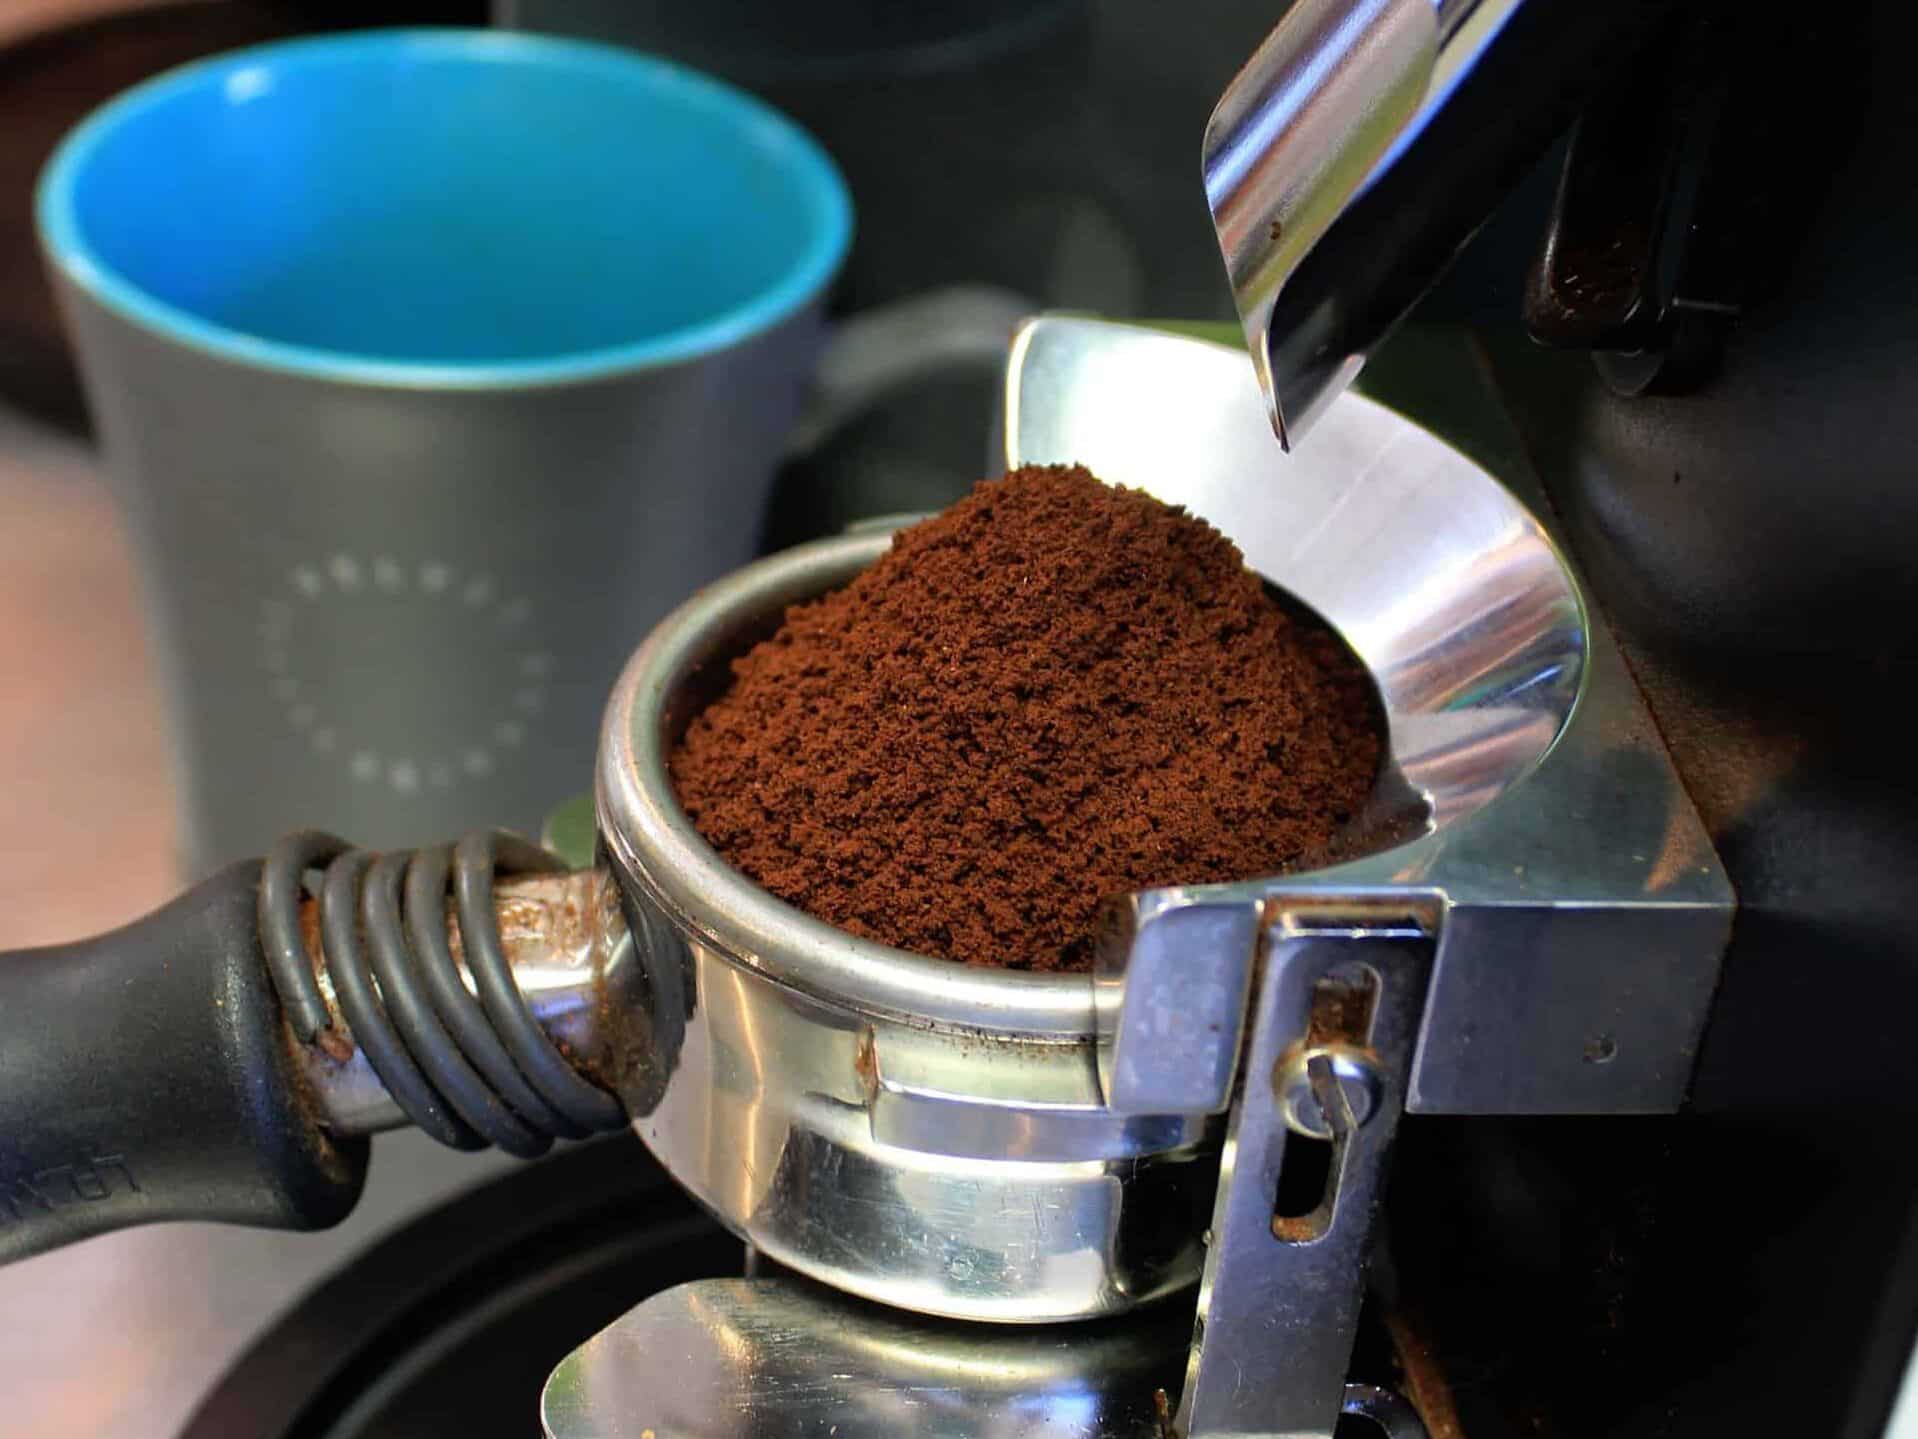
Dose refers to the amount of ground coffee that you use in each espresso. The dose you use should be determined by the size of the portafilter basket that you use. It is a fixed variable in this sense.
Each portafilter basket is designed to be used with a specific amount of ground coffee. It can be hard to get an even tamp if you use the wrong sized dose for your portafilter basket. Most portafilter baskets will have their dose printed on their outside. If yours does not have this then you should consult the manual or manufacturer.
Your portafilter’s recommended dose is usually based on the assumption that you are using medium roast coffee. This means that if you use darker roast coffee, you may want to experiment by dosing 0.5-2 grams below the recommended dose.
If you are using lighter roasts, then you may want to experiment with dosing 0.5-2 grams above the portafilter’s recommendation. Remember that dose should be treated as a fixed variable. Once you have your desired dose then it should remain constant as you dial in your espresso.
Ratio
Ratio, or dose-to-yield ratio, refers to the proportion of your dose to the amount of liquid espresso that ends up in your final cup (this is called your “yield”).
Espresso “normale” traditionally uses a 1:2 dose to yield ratio, so 15 grams of ground coffee should produce 30 grams of liquid espresso.
Ristretto traditionally uses a 1:1 ratio with lungo using a 1:3 ratio.
All these ratios are based on you brewing a double shot (doppio).
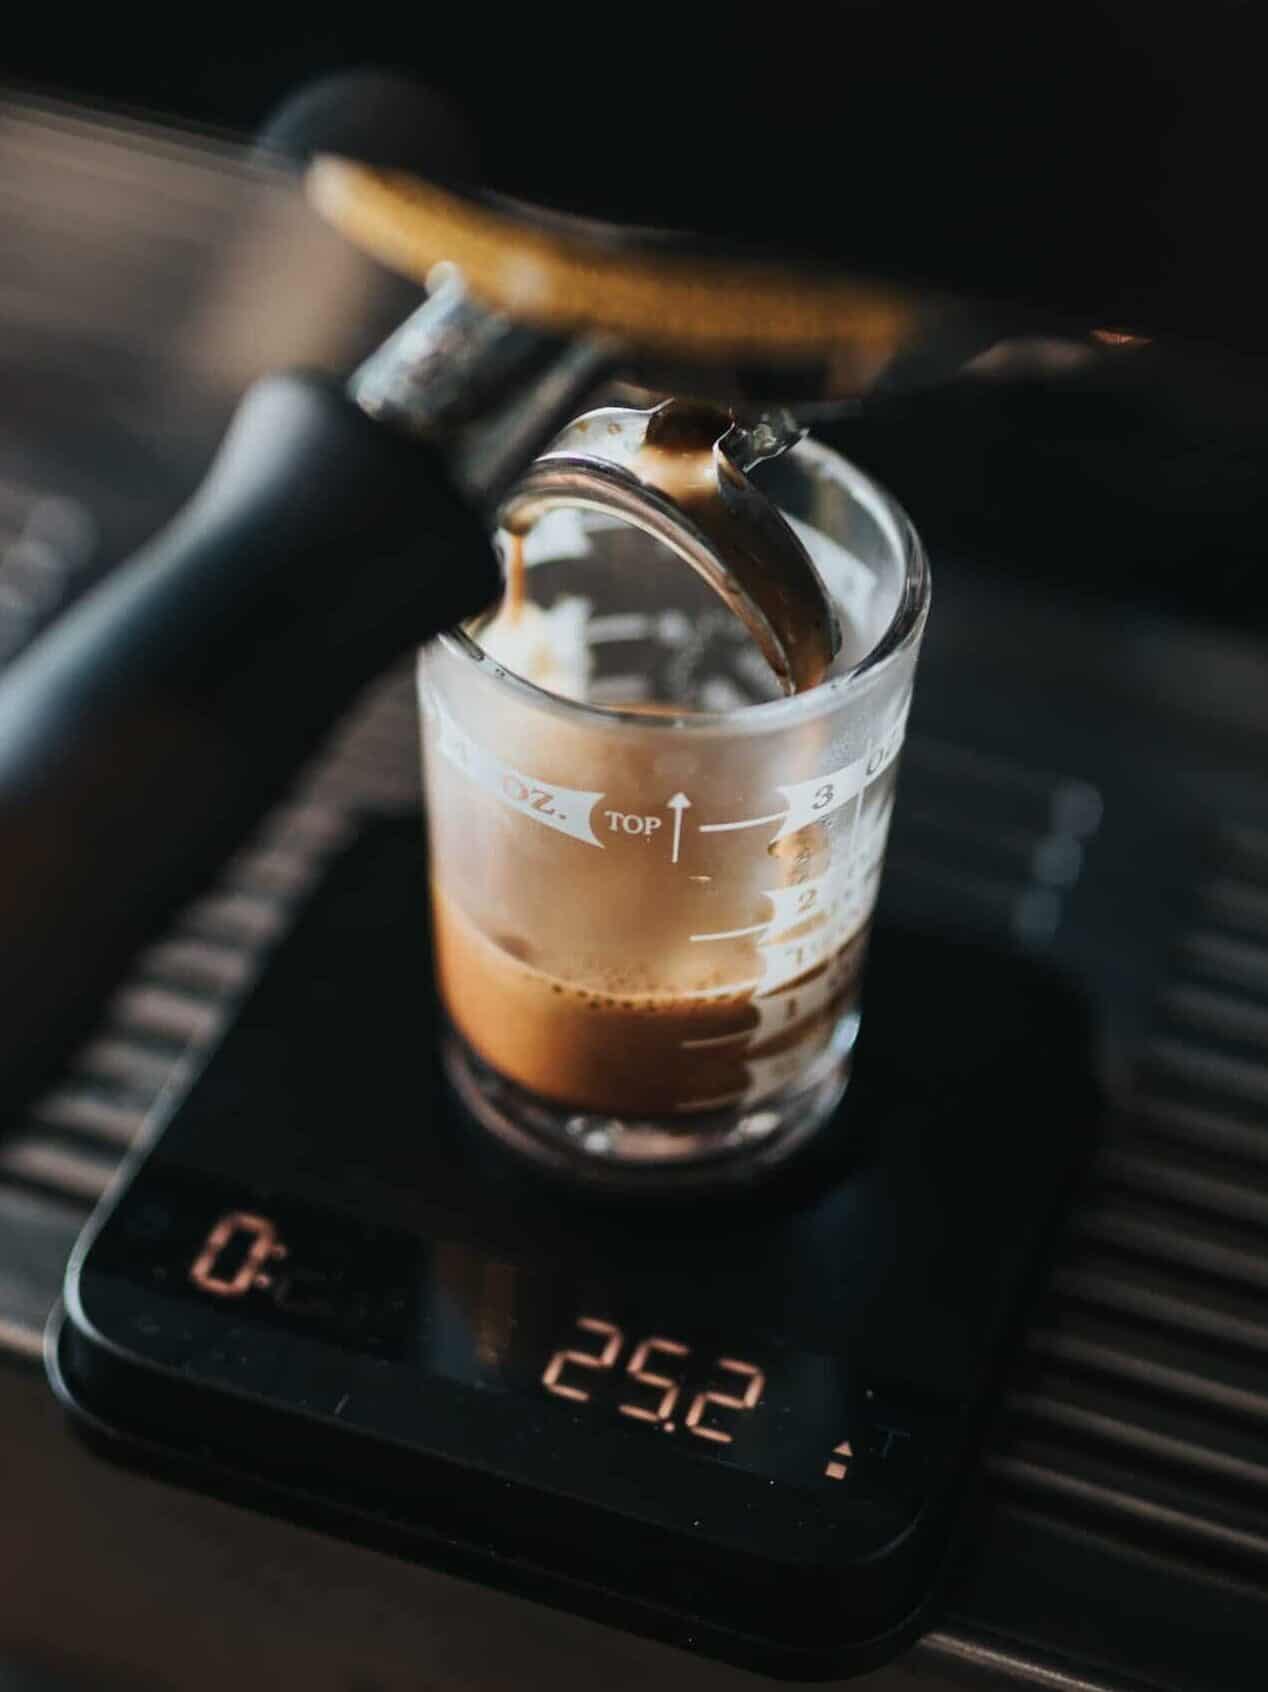
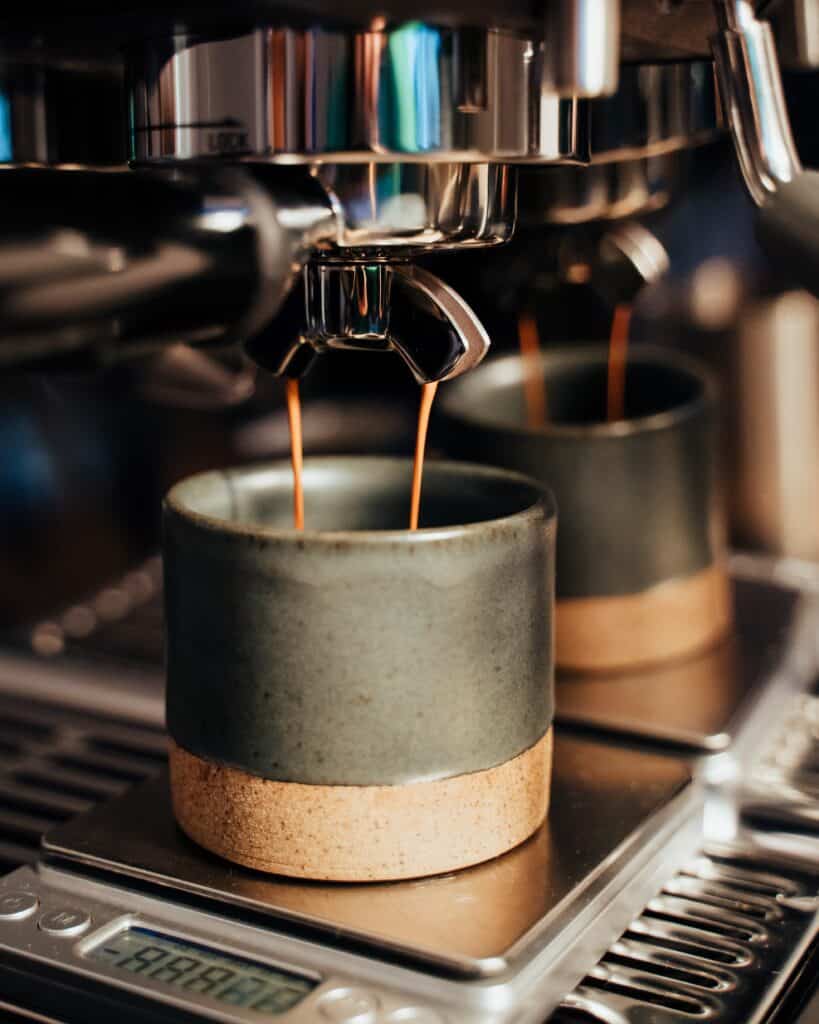
To measure your ratio accurately, you need to weigh both the ground coffee that you use and the liquid that ends up in your cup.
I would therefore recommend purchasing a scale that is small enough to fit under a cup in your machine if you want to create the best espresso possible.
Brewing Time
Brewing time refers to how long water comes into contact with ground coffee when making your espresso. The longer that coffee comes into direct contact with water, the more compounds from the ground coffee are dissolved into the water (this is called “extraction”).
In ground coffee there are both desirable and undesirable flavour compounds.
When brewing espresso we are trying to maximize the extraction of the desirable compounds and minimize the extraction of undesirable compounds.
In most cases we are looking for a brewing time of 25-30 seconds for espresso.
The easiest way to change your brewing time is to adjust grind size. Grinding your coffee finer will result in a longer brewing time as there is less space for water to make its way through the grounds.
Grind Size
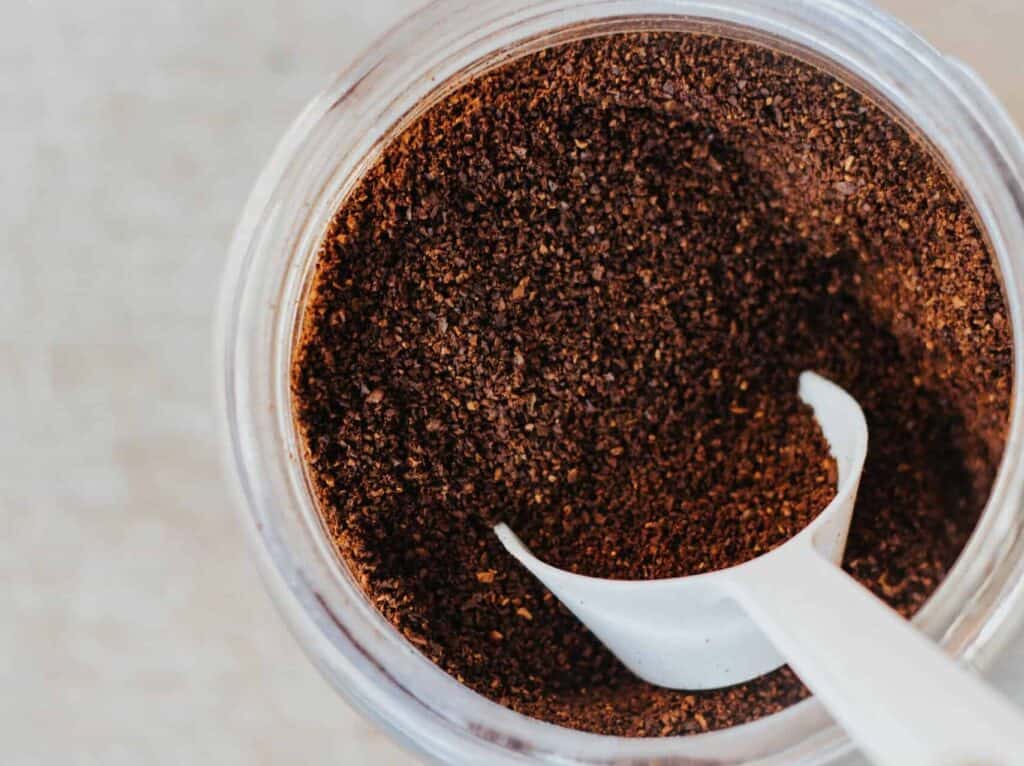
As mentioned earlier, adjusting the grind size of the coffee will affect your brewing time. The finer you grind your coffee, the longer it will brew for.
Longer brewing times reduces the sharpness but increases the bitterness in your drink.
To fine tune grind size, begin with an 18 second brew time and then set your grinder to grind one step more finely to increase the time. Continue adjusting one step finer at a time tasting with each adjustment, until you hit your desired taste.
The best way to do this is to brew for as long as you can until the coffee starts to take on a bitter aftertaste. We call this over extracted. Backing off by grinding one step coarser than this “bitter point” is where you want to be.
Brewing Temperature
Brewing temperature refers to the temperature of the water when it first makes contact with your ground coffee.
The higher your brewing temperature is, the faster extraction will occur. Brewing at too high a temperature can therefore cause undesirable compounds to dissolve in your water and make its way into your espresso.
Your ideal brewing temperature depends on the roast of your coffee, with lighter roasts typically needing a higher temperature.
90 – 92 degrees Celsuis is generally a good brewing temperature for making espresso with most roasts.
You can adjust the default brewing temperature when calibrating your machine. If your machine does not have an external temperature adjustment, consult with your espresso technician or coffee roaster. Some machines with lower temperature stability benefit from flushing water through the group immediately before pulling a shot of espresso. It’s a good practice in any case, as this flush will ensure that the shower screen is rinsed clean of any old coffee.
Brewing Pressure
Brewing pressure refers to the amount of force that coffee is pushed through your puck of ground coffee.
Espresso is traditionally brewed at nine bars of pressure. This is the maximum amount of pressure that you can push water through a puck of coffee without it breaking apart.
While more pressure increases extraction, it also increases the chances of channelling – the undesirable phenomenon of water making a hole in the puck of coffee and then a disproportionate amount of water flowing through it.
For reasons that I explain later, I would recommend setting your machine to brew with around seven to eight bars of pressure.
Now that we have gone through the basic variables of espresso brewing, I’ll now offer some tips on how to achieve consistently good espresso even if the people making the drinks are regularly changing.
Measure Your Yield by Weight
Rather Than Volume
As I said earlier, when making espresso you want to start with a dose to yield ratio of 1:2.
Since your yield is the amount of liquid espresso that you end up with, it’s easy to assume that it should be measured by volume (in milliliters, for example).
This is actually not an accurate way of measuring your yield. This is because espresso produces crema as well as liquid espresso. As crema is aerated, it takes up a lot more volume than the liquid coffee itself.
Therefore two yields of the same size can have different volumes depending on the amount of crema produced.
You therefore want to measure your yield by weight, rather than by volume.
The best way to do this is to have a scale underneath your cup as you brew. End your brew once the desired weight has been reached.
If you have an AV machine that automatically dispenses a preprogrammed amount of water for each shot, then calibrate it according to the average amount of water needed to produce the weight of yield that you want over an average of five shots.
The volume (or weight) of unbrewed water that you use is not a reliable metric since different amounts of water will stay in your portafilter depending on the coffee and fineness of your grind.
Brew With Seven to Eight Bars of Pressure
While espresso is traditionally brewed at nine bars of pressure, I’d recommend brewing just under this if you want to make consistent espressos.
While higher pressures allow you to brew with finer ground coffee, something which is generally considered desirable, it also greatly increases the chances of channeling occurring when you brew.
A higher brewing pressure means that water is under more duress to find weak spots (“channels”) in the espresso puck and all flow through that channel.
Channeling can result in weak, over-extracted (bitter) espresso, as the coffee immediately around the channel gets very over extracted when the majority of water flows through it, rather than evenly through the entire coffee puck.
You are better off brewing with a slightly coarser grind and a slightly lower pressure, especially if you cannot guarantee that every puck will be prepared in the exact same way (because they are being prepared by different baristas).
Around seven to eight bars of pressure achieves a good balance between allowing you to brew with finely ground coffee and reducing the risk of channeling.
Although the quality ceiling of your espresso is slightly lower at this pressure, I would rather be serving a consistent 8/10 espresso over one that can be a 9/10 sometimes and a 6/10 at other times.
Fine Tune Your Espresso by Experimenting With Grind Size and Taste
There are three easy-to-adjust variables when making espresso
These are: dose of ground coffee, yield of liquid espresso, and grind size
I’d recommend spending most of your time adjusting grind size before you make any changes to dose and yield.
Grind size is the biggest determinant of extraction rates and brewing time. It therefore makes a huge difference to the flavor profile of your drink.
Grind size also affects your espresso’s “body” – it texture, in other words. One of the defining characteristics of espresso is its syrupy texture which is much thicker than that of filter coffee.
The table below shows how grind size affects extraction and brewing times:
| Grind Size | Extraction | Brewing Time | Flavour | Body |
|---|---|---|---|---|
| Coarser | Reduces extraction | Shortens brewing times | Creates a sharper tasting espresso | Becomes thinner and more watery |
| Finer | Increases extraction | Lengthens brewing times | Creates a more bitter tasting espresso | Becomes thicker and more syrupy |
Given how grind size affects flavor, you can adjust grind size based on how you want to change the flavor profile of your espresso.
Although the recommended brewing time for espresso is 25 – 30 seconds, do not adjust your grind size to aim for a specific brewing time.
Instead adjust your grind size around the flavor you want to create. Use brewing time as a very rough guide to whether you are on the right track with your grind size.
Simple Espresso Recipe for Medium Light Roasts
The recipe below should get you good results when using our medium light roast espresso blend:
- Dose: 18.8 grams of coffee
- Yield: 36-38 grams of liquid espresso
- Brewing time: 26-28 seconds (from pressing the switch, not from first drip)
Grind size should be adjusted to achieve this 26-28 second brewing time.
Lungo and Ristretto Usually Need Different Grind Sizes from Espresso
If you sell lungo (long shot) and ristretto as well as njormal espresso then the two variables that you should change are the brew ratio and the grind size.
Typically ristretto uses 1:1 dose to yield and lungo uses a ratio of 1:3.
Keep the dose the same across these drinks and let this be determined by the size of the portafilter basket that you use.
You want to adjust the grind size of these different drinks because brewing with more water will increase extraction and brewing with less water will reduce it.
You want to keep the extraction as uniform as possible between these three drinks so grind size should be adjusted accordingly.
With a ristretto we want to use a finer grind to increase extraction.
With a lungo we want to use coarser grind to decrease extraction
To avoid wasting coffee you may want to invest in dedicated grinders for each of these drinks.
Since you waste around a serving of coffee every time you change the grind size, these grinders should pay for themselves in a short time.
Quick Guide to Steaming Milk
When you are steaming milk, there are two targets that you are aiming for: increase in volume (foaming) and increase in temperature.
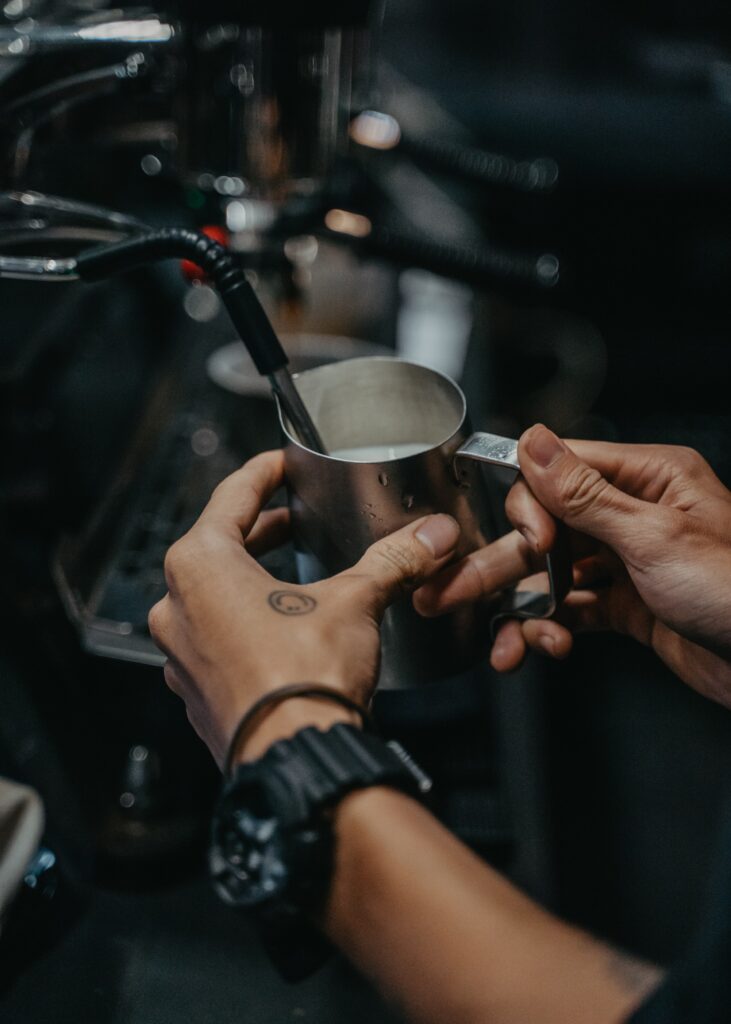
You increase your milk’s volume by holding the tip of your steam wand just on the surface of the milk. The milk should be swirling around and hissing as you do this.
The volume of milk should increase to the desired amount after about 3-5 seconds on a commercial machine. On a home machine this will take longer.
You increase your milk’s temperature by lowering the tip of your steam wand in to the milk in your container and holding it steady until the milk forms an even whirlpool around your pitcher.
The milk should just be swirling, rather than hissing when you hold your wand in this position.
Since steaming for volume will increase the temperature of your milk, focus on achieving your desired volume first before bringing your milk up to your desired temperature.
The ideal temperature for steamed milk is 150 degrees Fahrenheit. Anything from 140-160 Fahrenheit is acceptable.
The table below shows the ideal volume and temperature for different types of milk in the three most popular milk based coffee drinks: espresso, latte and flat white.
| Type of Drink | Height of Milk Foam Needed |
|---|---|
| Latte | 1 cm |
| Cappuccino | 1.5 cm |
| Flat White | 0.5 cm |
Final Thoughts
When putting together your recipe for espresso, you want to focus as much on creating a drink that strikes a balance between being as tasty as possible while still being repeatable.
The best way to do this is to follow established best practices and keep as many fixed variables as possible.
Playing around with grind size is enough to make a better espresso than most of your competitors while still keeping the espresso making process simple enough that all your staff can follow it.
 8-100 Ringwood Drive, Stouffville, ON, L4A 1A9


